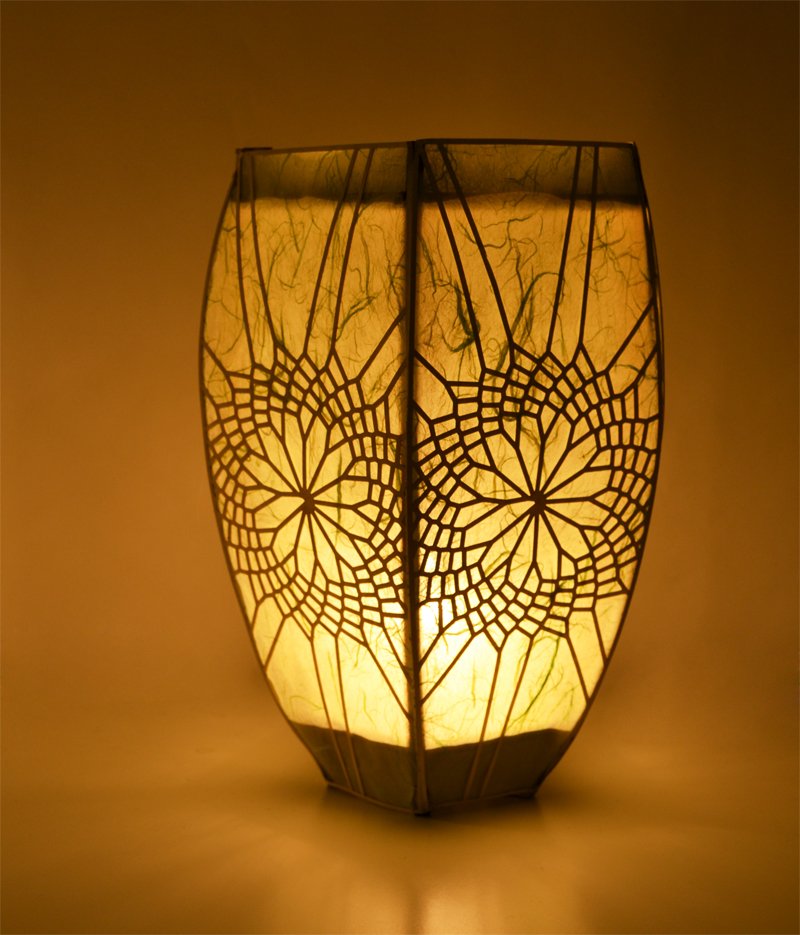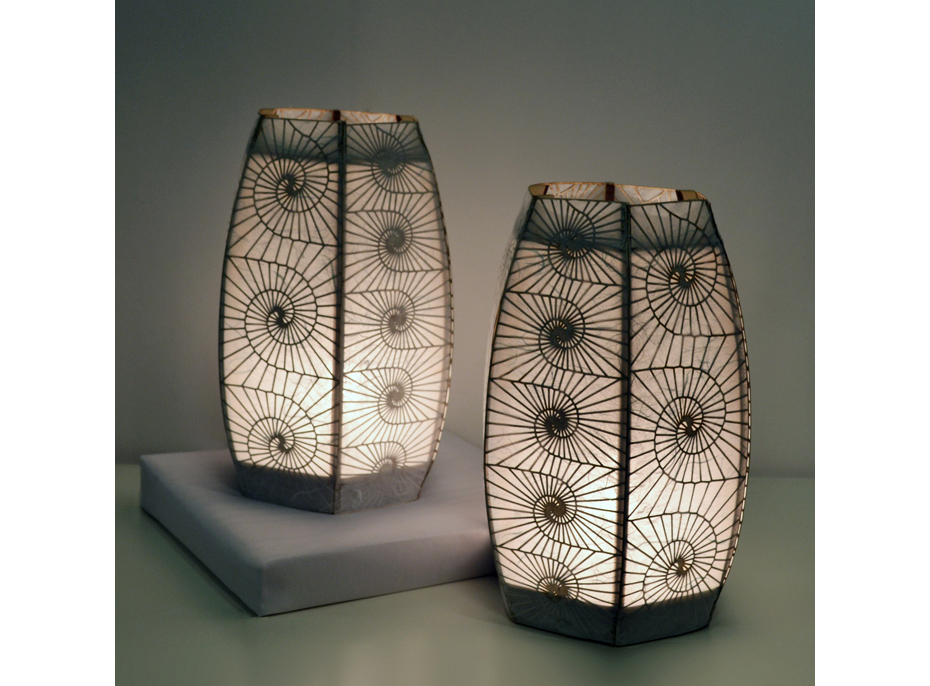
Codeable Objects is a library for Processing that allows anyone to design and construct an artifact using geometric computation and digital fabrication. This tutorial will show you how to use the library to make a laser cut lamp. The library allows you to customize the size, shape and decorative patterns of the lamp.
Requirements:
- A computer running windows, Mac OSX or Linux.
- Internet Access
- A vector editing program (Inkscape or Adobe Illustrator)
- Access to a laser cutter*
*If you don’t have access to a laser cutter, you can use an online fabrication service to cut your parts. A good choice is ponoko.com, though many others exist.
Section 1: Setup
Step 1: Assemble your physical materials
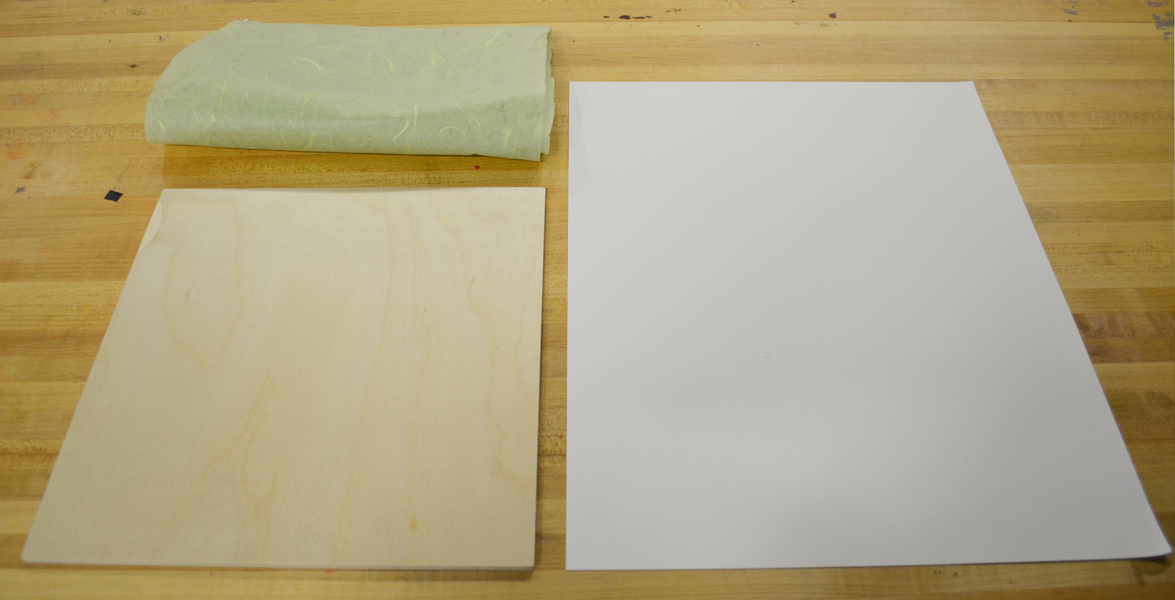
- 1-3 square feet of ¼” plywood
- 1-3 sheets of 17” x 14” Bristol board, or some other similar weight paper.
- 1-3 sheets of semi-transparent vellum or high-grade tissue paper. (You can use normal tissue paper as well, but it might result in a less durable finished project.) You can purchase both of these papers at most art and craft supply stores. Choose any color you like for both papers.
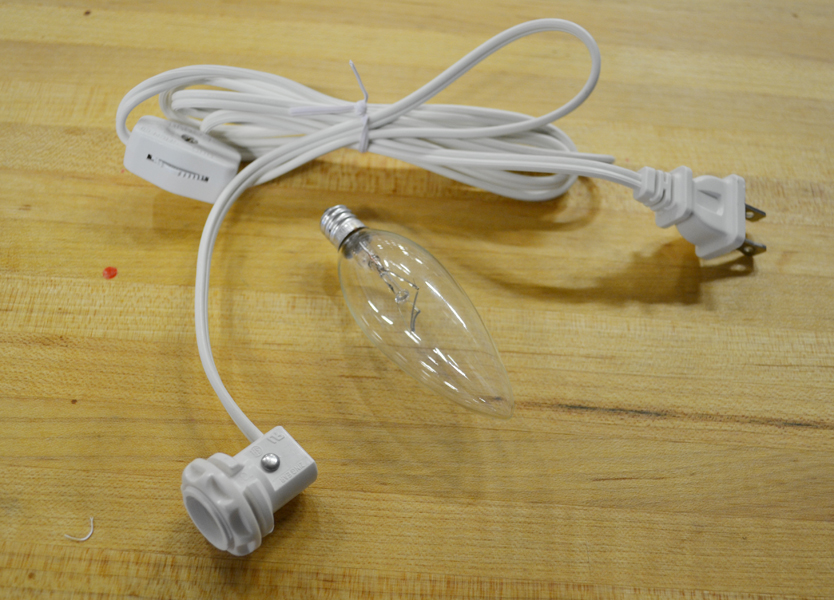
- One pre-made light fixture. We recommend using one that has a socket diameter of around 20-40 mm and accepts a candelabra style bulb. This is the one we use in our tutorial: http://www.amazon.com/Electrical-Candelabra-Socket-Screw-On-Switch/dp/B0007GFBBU/ref=pd_sxp_grid_i_1_2
- 1 light bulb. We recommend getting a low wattage bulb, (around 25 watts), or a compact fluorescent.
Step 2: Download and install Processing
Processing is a popular java based programing environment that allows people to learn and experiment with programing in a simple and straightforward context. If you’ve never used processing before, it’s extremely useful for a range of projects. You will need to download the Processing IDE (which is free), here: http://processing.org/download/
For tips on how to install processing after you’ve downloaded it, check out this page: http://processing.org/learning/gettingstarted/. Follow the instructions on installation, based on your operating system. Note: This tutorial covers the basic elements of Processing, but should not be considered a lesson in Processing in general. For that, check out processing.org for some great tutorials.
Step 3: Download the Codeable Objects library
Processing’s functionality can be augmented by user created libraries. Codeable Objects is one such library that we created to facilitate this project. You can download the library here: http://jenniferj.net//heroworship/wp-content/uploads/code/codeableObjects.zip
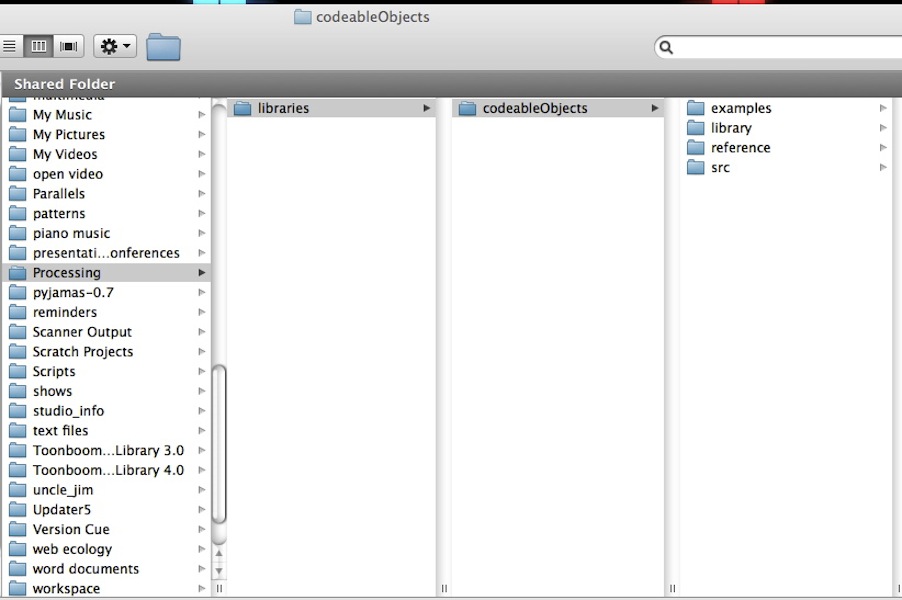
Locate the Processing sketchbook. This is the default directory of all of your Processing sketches. On a mac, this will usually be: /Users/Username/Documents/Processing
on a PC, it’s probably: c:/My Documents/Processing/. You will need to place the Codeable Objects library in this directory. It should automatically have been created when you installed Processing. In this directory, there should exist a folder called “libraries”. Unzip the codeableObjects.zip file and place the resulting directory here.
If a directory named libraries does not exist, you will need to create one before placing the Codeable Objects library in it. Once you’ve done so, quit and restart processing if it’s already open, in order to allow it to recognize the new library. Then, open a new sketch by selecting File->New and check to see if the library was found by going to Sketch -> Import Library.. If you placed the library in the correct directory, then codeableObjects should show up among your installed libraries in the menu. You won’t need to import it now, but you can if you like. Note: The process detailed above is the same process for installing any other processing library.
Section 2: Design
Step 1: Design the form of your lamp
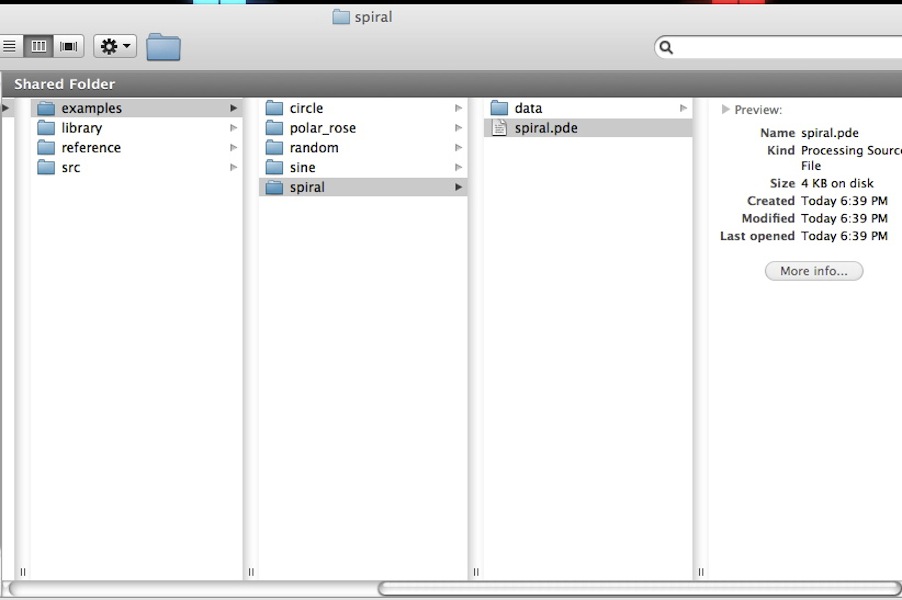
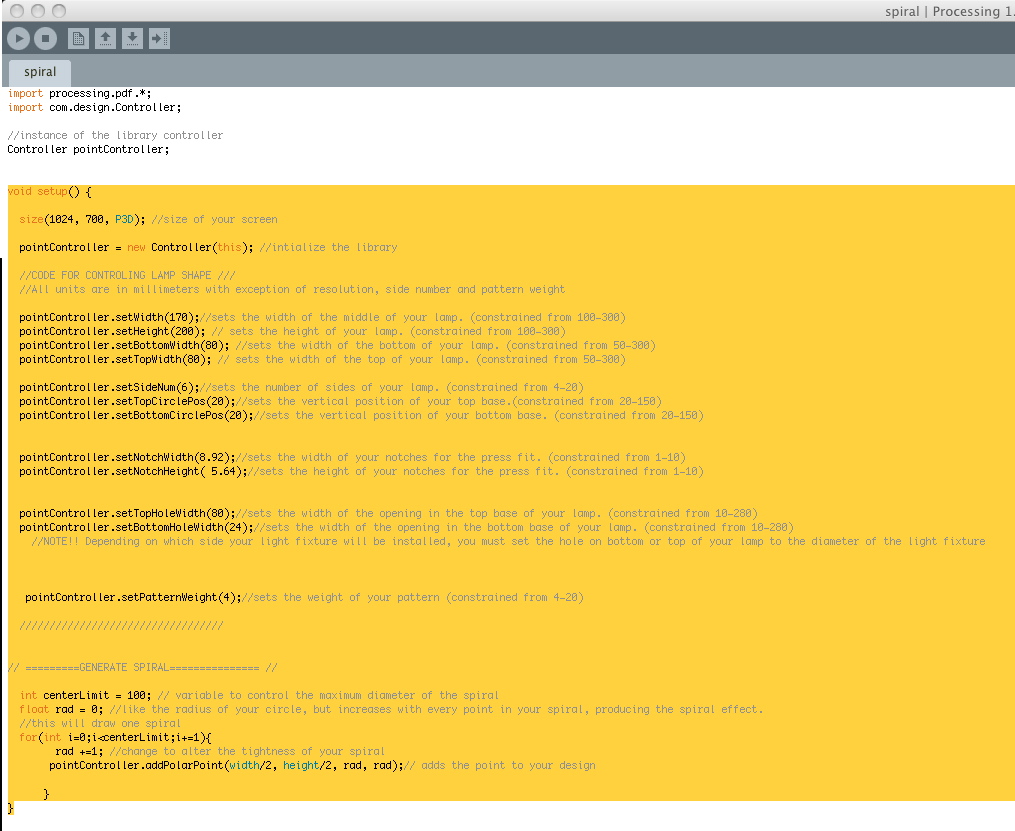
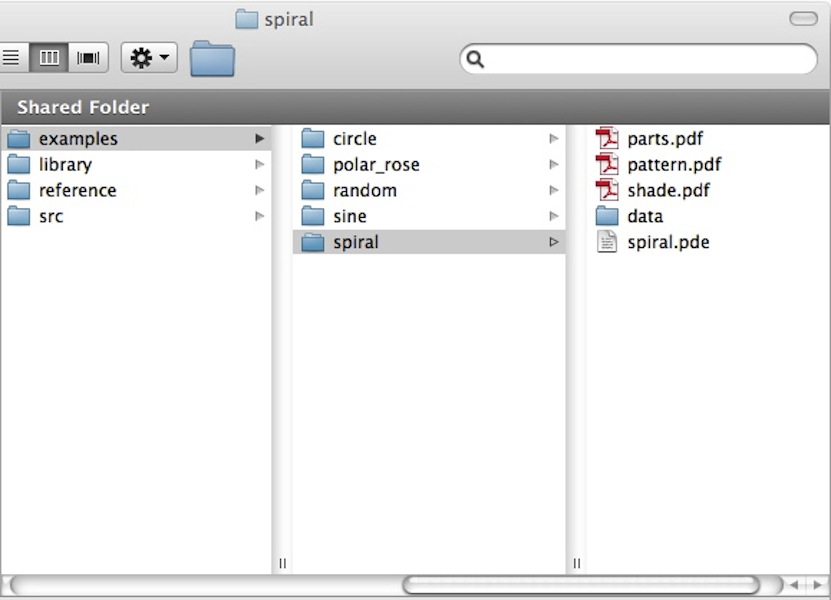
The library includes several examples to demonstrate how to use the library in processing. They are located in the examples folder within the codeableObjects directory. The code contained in each example is identical with the exception the part that controls of the type of decorative pattern it will generate. If you want to generate your own file, you can create a new processing sketch and copy the code from one of the examples into it, to modify. For now, open the circle example by going into the circle folder and double clicking on the spiral.pde file.
The code in the file might look intimidating if you’re not familiar with Processing, but there are only a few parts you need to change to design your lamp. All of the code that you write will be contained within the setup() function. Setup is a pre-defined function that is automatically called by the processing environment exactly one time at the start of the program when the program is run. Any code placed in between the curly brackets of the setup function will be executed once. The first line of code: “size()”, controls the size of your application window. You shouldn’t need to adjust this. The second line creates an instance of the library controller class called “point controller”. You will use this instance to execute the library methods that structure your lamp.
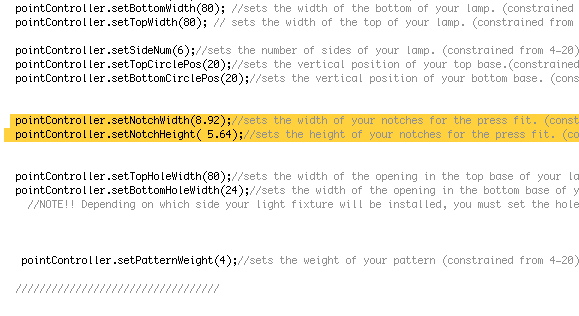
Below the line that reads “//CODE FOR CONTROLING LAMP SHAPE //” are all the sizing commands that let you specify the form of your lamp. All of the units here are in millimeters. (Any code that is prefaced by a “//” will be registered as comment by Processing and will not be complied.)
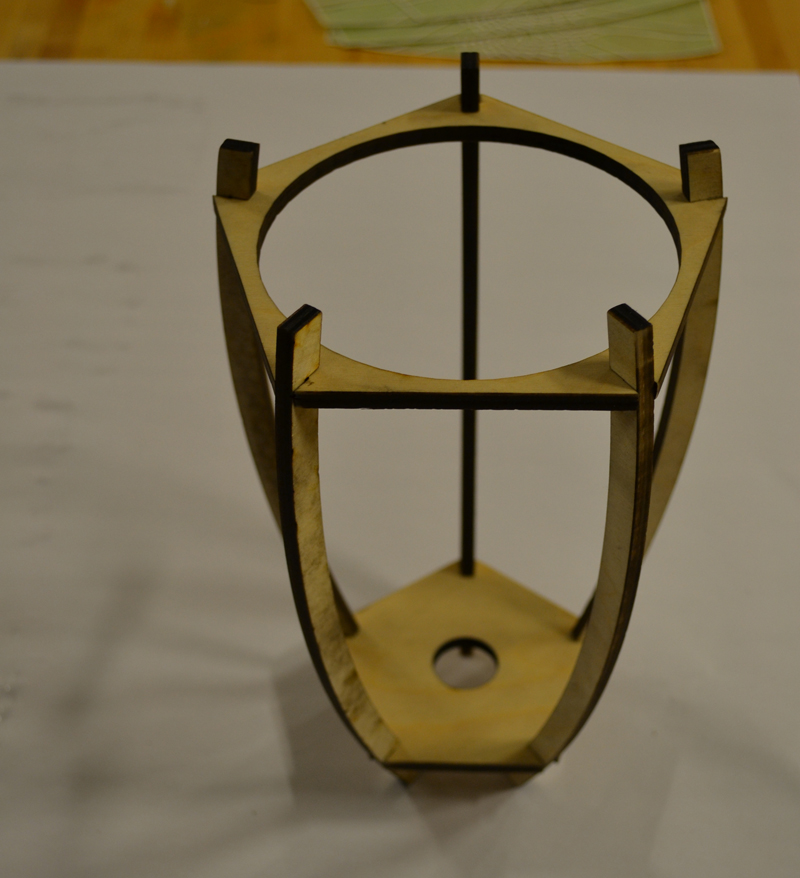
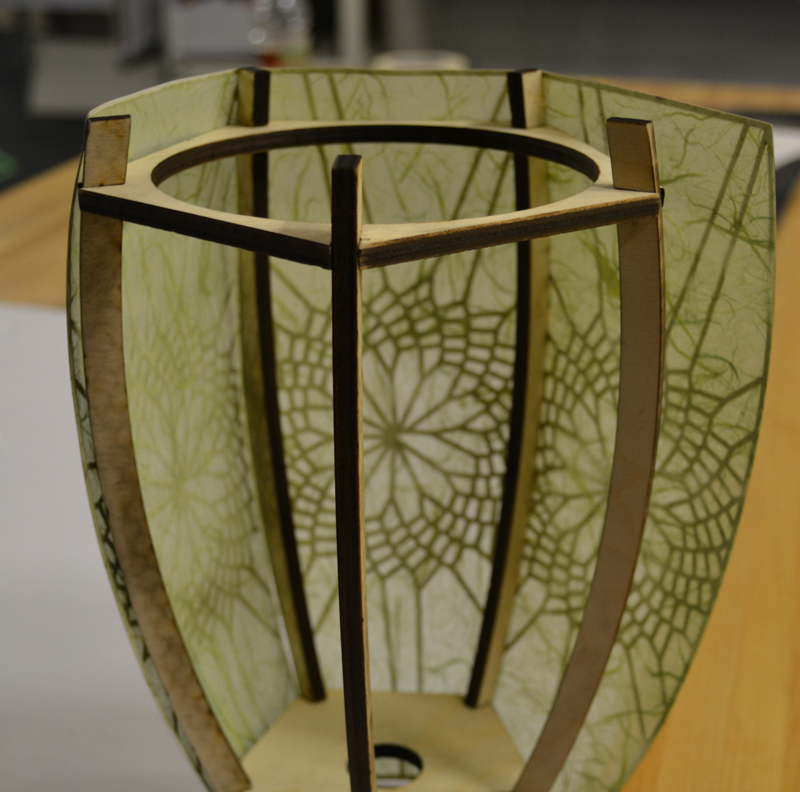
Each lamp has a press-fit frame that is constructed of a set of ribs that fit in to a top and bottom base forming a circular structure. The code listed in this section lets you design this structure with varying parameters. There are 11 parameters you can set with these programing methods
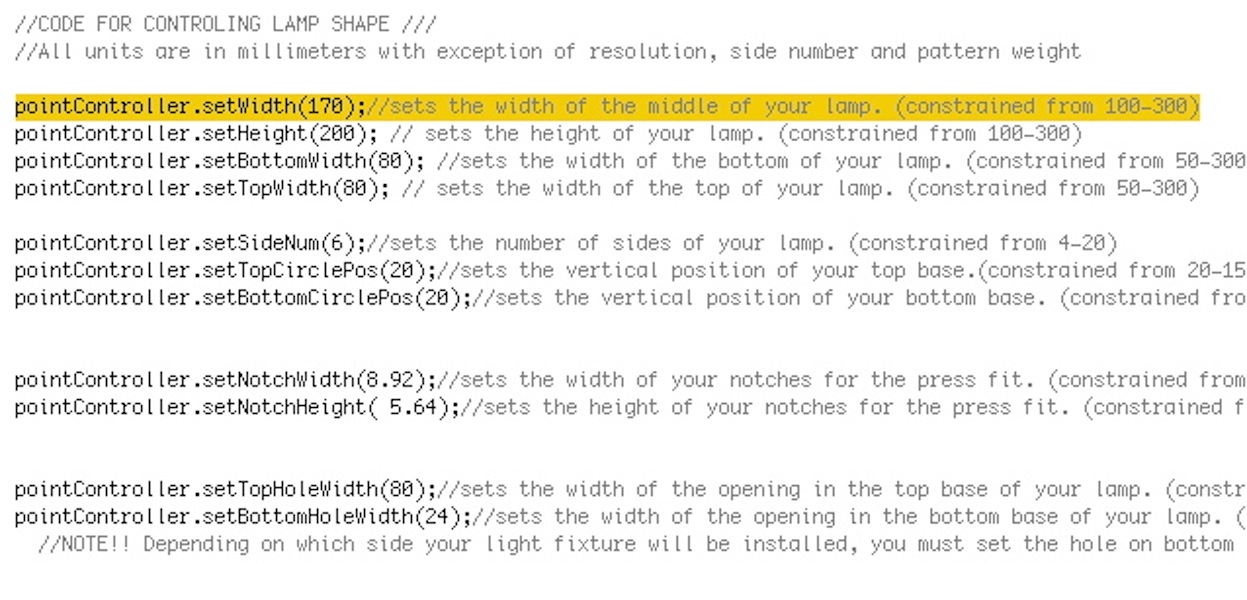
If you look in the example, you should see a line containing each of these methods with a value that specifies the dimension. For example “pointController.setWidth(170)” will set your lamp width to 170 millimeters. The setWidth command is constrained between 100 and 300 millimeters.
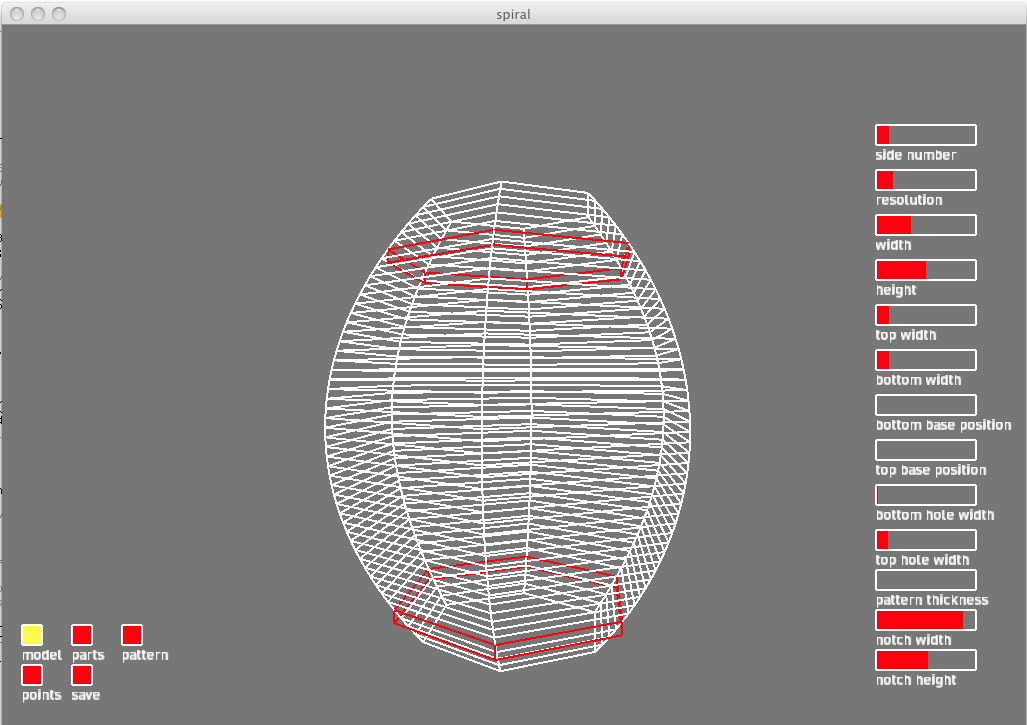
At this point you can press the play symbol at the top of the processing code window, which will compile the code and open the application as a java applet. You should then see a 3d wireframe model of the lamp with the parameters specified in the code. If you close the applet, either manually by closing the window or pressing the stop symbol in the Processing sketch window, you can and change some of the values of the sizing commands and re-compile it again. You should then see the changes reflected in the model. All 12 commands are listed and thoroughly commented in the code.
GUI:
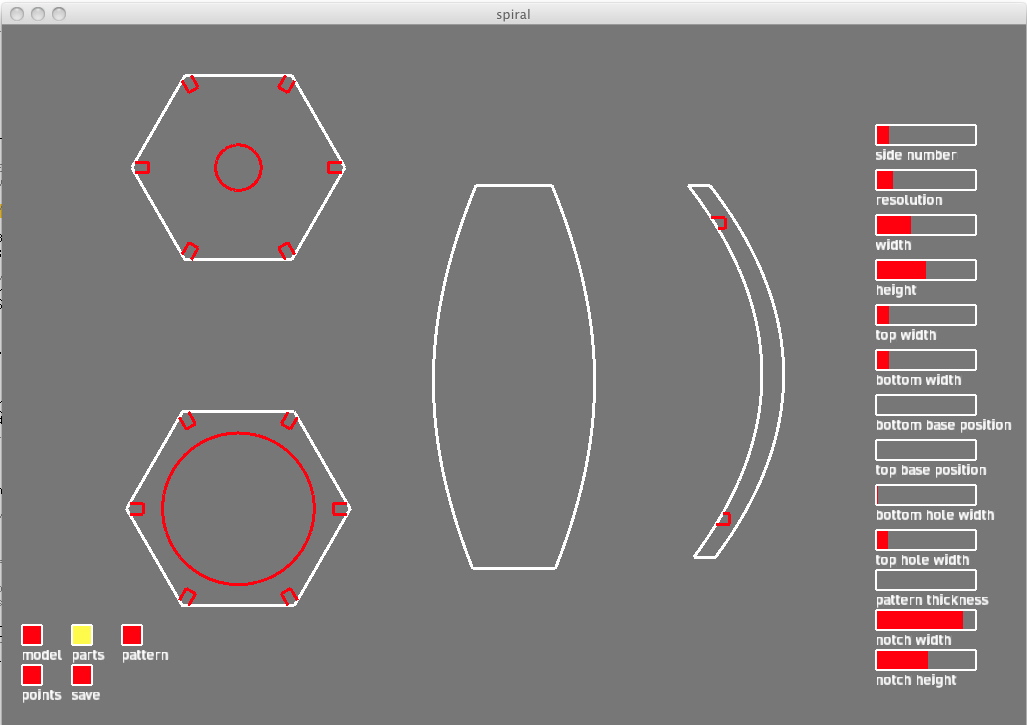
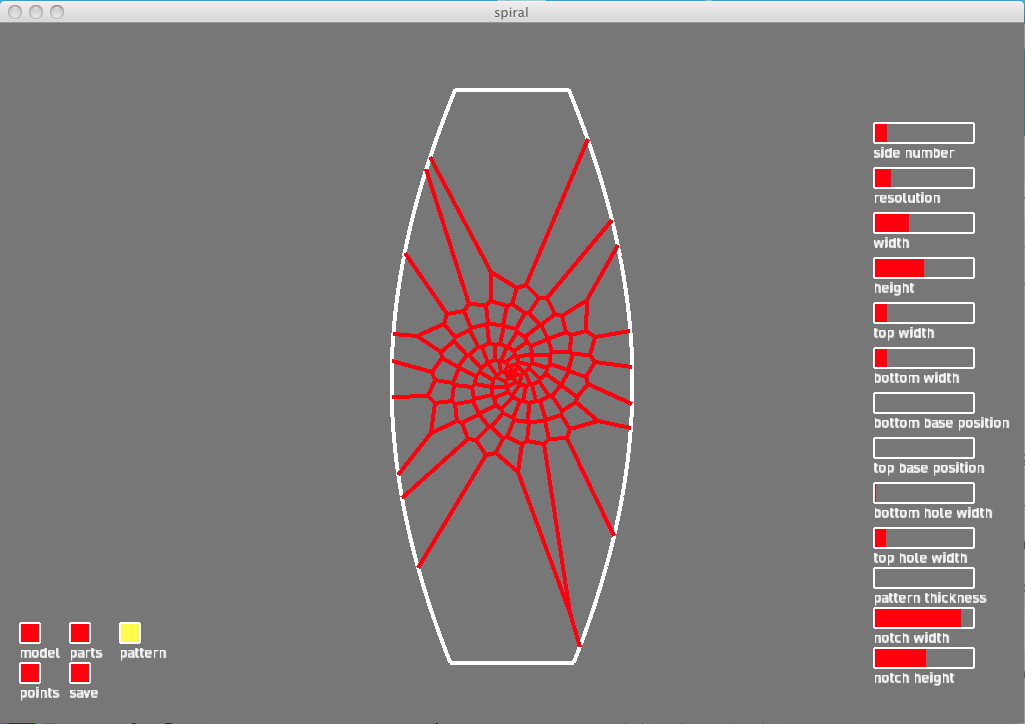
When you compile the code, you will notice that there is a set of buttons in the lower left hand corner of the screen. The top 3 allow you to toggle between different views of the lamp structure. If you click the “parts” button, instead of seeing a 3D model, you will see a 2-d view of the tool paths of the lamp that will be cut out by the laser cutter. You will also notice a set of sliders on the right hand side of the screen. These sliders control all the same parameters as those listed in the code above. By moving them, you can see your design change in real time. Note: while you can use these sliders to design your lamp and see the changes reflected in your tool paths, if you close the application and recompile it, the lamp settings will revert to the values you specified in your code.
Width and Height:
Deciding on the width(s), height, and number of sides is pretty intuitive, and all of the ranges are constrained to ensure that what you make will fit together properly. You will need to decide if you want the light fixture to come from the top or bottom of the lamp and set the diameter of the top hole or bottom hole to correspond to the diameter of your light fixture. Similarly, you will need to set both the width and the diameter of the hole for the side opposite the light fixture to be large enough for your hand to fit inside to change the light bulb. For example, if your light fixture is 26 millimeters in diameter and will go on the top of the lamp, then set the top-hole width to around 28 millimeters. Similarly, you would set the bottom width and bottom hole to a minimum of 100-80 millimeters. Hand sizes vary, so it’s a good idea to measure your hand and see what is a comfortable size opening for you.
Base Positioning:
The values for the top and bottom circle positions will determine how close the bases of the lamp will be to the top and bottom. The choice is yours, but we recommend placing the base without the light fixture as close to the end of that side as possible (20 mm). Also, if your light fixture is on the bottom of the lamp, make sure you make the bottom base high enough to prevent your light fixture from sticking out of the bottom, which will result in a lamp that is unbalanced. To prevent this, measure how tall your light fixture is, and set the bottom base position to something 5 or 10 millimeters greater than that.
Notch Width and Height:
If you are using ¼” plywood, you don’t need to change the notch width and height settings. They have been pre-defined for that size of material. If you want to try a different thickness of material, you will need change these settings, but realize that it may take some experimenting with the laser cutter to get the correct value and a good press-fit. A good rule of thumb is to set the notch height to slightly less than the thickness of your material to account for the kerf that will be burned away by the laser.
Step 2: Design the pattern of your lamp
The decorative patterning of your lamp is also controlled by code in the setup function. Specifically, the patterns are generated using a voronoi diagram, a special type of spatial subdivision that when given a set of point sites, generates cellular divisions around each site consisting of all areas whose distance to that point is not greater than their distance to any other site. The library takes care of the logistics of generating the diagram. All you have to do is give it a set of points to base the diagram on. You can view your pattern by switching to the pattern view in the GUI.
Adding points in Cartesian space:
To specify a single point in cartesian space, you use the addCartPoint() method and pass it an x and y coordinate. For example, to place a point at (15,10), you would type “pointController.addCartPoint(15,10)”. You can also use some of Processing’s preset system variables, (width and height), to place points in specific locations. Typing “pointController.addCartPoint(width/2,height/2);” will place a point in the very center of the screen.
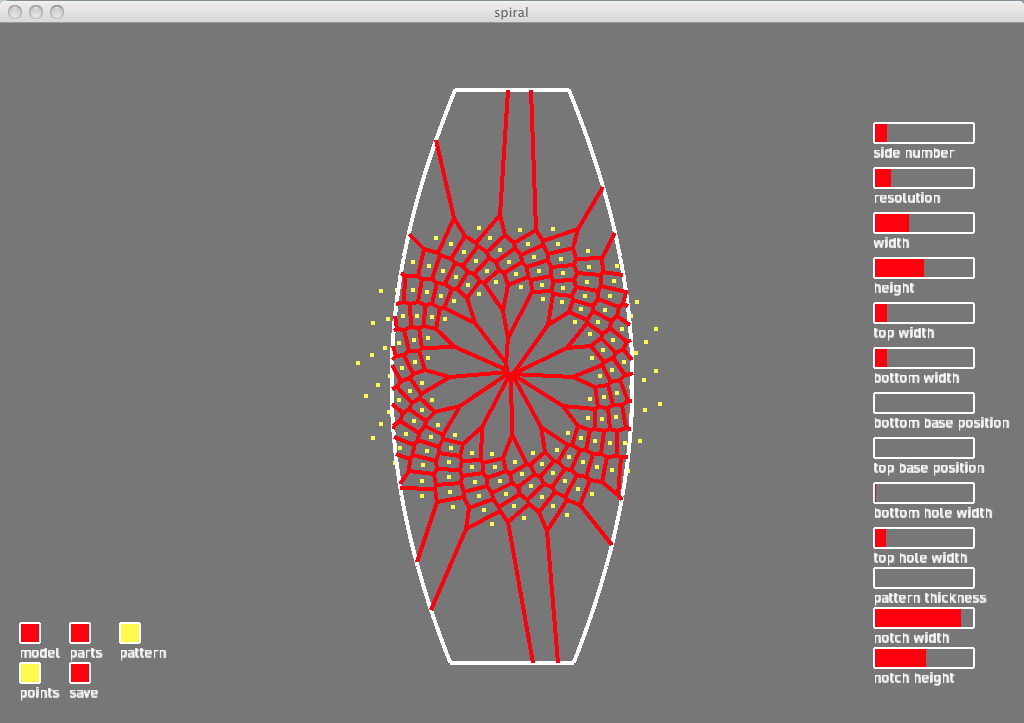
Once you’ve added the points you want, you can compile the code again and use the “pattern” button in the GUI to switch to the pattern display. You will then see a rendering of the voronoi diagram generated by the points you specified. If you hit the points button, located below the scene toggle buttons, you will see the locations of the points themselves. The pattern will automatically be clipped to fit inside the dimensions of your lamp.
Adding points in Polar space:
You can also add points in polar space instead of cartesian. This comes in handy when trying to draw radial patterns, like a circle, with points. To add a point in polar space use the addPolarPoint() method, and pass it the x and y coordinates of the origin, the angle in radians and the radius. For example the code “pointController.addPolarPoint(width/2,height/2,6,100);” will place a point that’s 100 pixels away from the center of the screen at an angle of 6 radians. Note: if you’re more comfortable thinking in degrees than radians, you can use a predefined processing method to convert from degrees to radians by calling “radians()” and passing it the degree value. (http://processing.org/reference/radians_.html)
Adding multiple points with iteration:
You can manually specify each point position, but it’s much quicker, and much more interesting to use code (and a little math) to quickly generate a lot of points in varying patterns. To do this, we use a common programing structure called a for loop. A for loop is an iteration statement that allows code to be repeatedly executed. To initialize a for loop, we use the following syntax:
for (int i=0; i<limit; i++) {

// code to be executed

}
Where i is a variable that specifies the loop value, limit is the value that will terminate the loop once i reaches it, and i++ indicates the addition that will happen to i on each iteration of the loop. Suppose we set limit equal to 10. The for loop will instruct the program to start i at zero, and check if i is less than 10. If it is, the program will execute any code in the curly brackets and then add one to i. It will then check if i is still less than than 10, execute the code and so on. Once i is no longer less than 10, the loop will terminate.
If we want to create an ordered structure of points, like a spiral, we can use a for loop, as demonstrated in the example. Let’s go through the code in the // =========GENERATE SPIRAL=============== // section:
    int centerLimit = 100; // variable to control the maximum diameter of the spiral

   float rad = 0; //like the radius of your circle, but increases with every point in your spiral, producing the spiral effect.

   //this will draw one spiral

    for(int i=0;i<centerLimit;i+=1){

        rad +=1; //change to alter the tightness of your spiral

        pointController.addPolarPoint(width/2, height/2, rad, rad);// adds the point to your design

     }
Here, we’ve set a starting variable called “centerLimit” to 100. This will control the number of iterations of the for loop. It also specifies the number of points in our spiral. There’s also a variable called “rad” that’s set to zero. This value will control the radius of the spiral.
In the for loop directly below this code we see that we’re checking the value of i against the “centerLimit” variable. On each iteration, we’re adding one to rad and then calling the “addPolarPoint()” method and passing it the center of the stage (width/2 and height /2) as the origin point, and the value of rad as both the radian value and the radius. Because we’re increasing rad with each iteration, the effect will be 100 points that gradually radiate out from the center of the stage producing a spiral effect. Execute the code, and toggle to the pattern view to see this result.
With this method, you can quickly modify and increase the complexity of your design with little effort. Try changing the value of the “centerLimit” variable to increase or decrease the number of points in your spiral, or increasing or decreasing the amount you add to rad during each iteration to change the distance between the points. You can also call the “addPolarPoint()” method multiple times each loop, with different origins to create multiple spirals in different locations. Spirals aren’t your only option for designing as well. If you look at the other examples, they contain code samples that show you how to generate points using circles, sine and cosine waves, polar roses and random values. You’re not just limited to these examples, but they offer a great starting point. You can mix and match them for a wide range of effects. The patterns in this tutorial were made with the same spiral code, and varied by initializing a large starting value for rad (80), setting a centerLimit of 150 and incrementing rad by 0.5 each iteration.
Step 3: Prepare your files
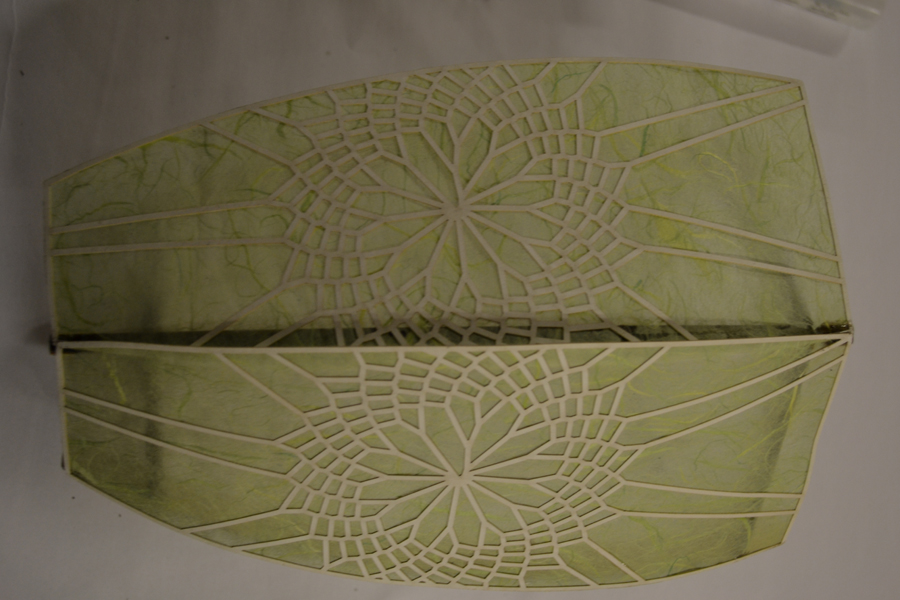
Once you’re satisfied with the form and pattern of your lamp, you can save out the files you will use to cut your parts on the laser cutter by hitting the save button in the lower right hand part of the application window. If you look in the folder where the example is located, there should now be three files, “parts.pdf”, “shade.pdf” and “pattern.pdf”. Each file contains the tool paths for the 3 different parts of your lamp. These parts correspond to the 3 materials, wood, tissue paper or vellum and Bristol board. When you preview your files, you may notice that some of the pieces in the “parts.pdf” file appear to be cut off, depending on the size of your lamp. To fix this, you may have to go into a vector editing program and release and delete the clipping mask surrounding the parts. You can do this easily in Adobe Illustrator, or in Inkscape, an open source free vector graphics program. A tutorial on how to do this is located here. Your parts are now ready for cutting.
Section 3: Fabrication
Step 1: Cut your parts
This process will vary depending on the laser cutter that you are using. Different laser cutters have different control software that vary in file format requirements. Many laser cutter applications accept files with a .dwg or .dxf extension. You can use Inkscape or Illustrator to export the pdf files to this format. If you don’t have access to a laser cutter, you can use an online fabrication service to cut your files. A good choice is ponoko.com, though many others exist.
The laser cutter power and speed settings will also vary depending on which laser cutter you use, so consult with the technician to figure out the best settings for cutting plywood, bristol board and tissue paper, respectively.
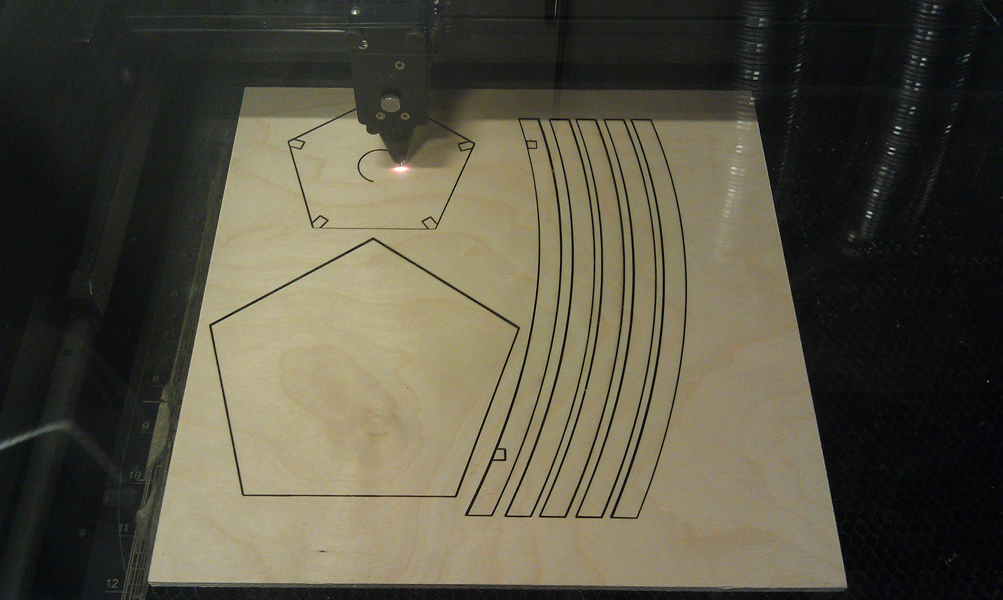
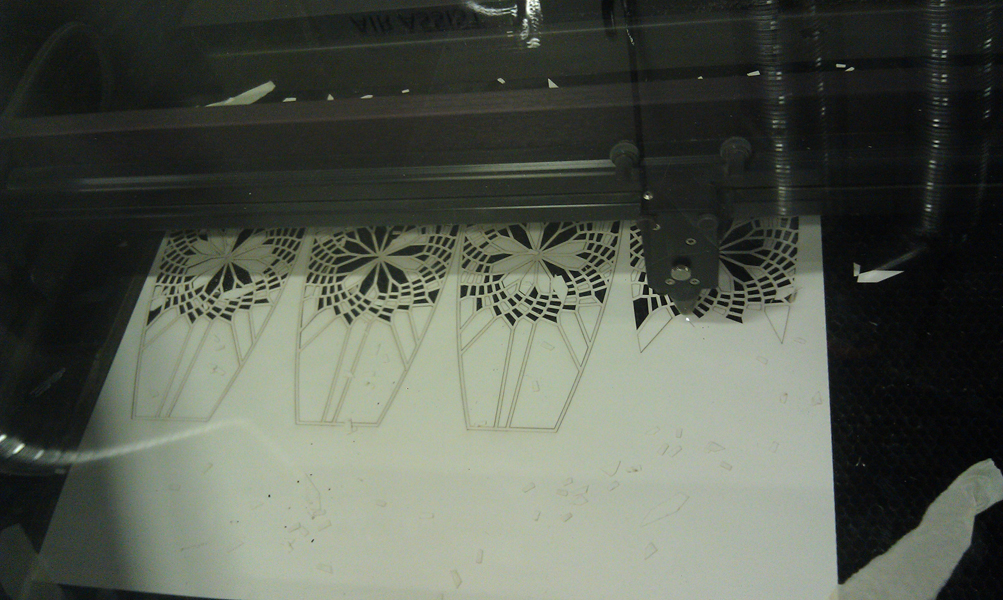
You should cut the parts in the parts.pdf file out of the plywood, the shade.pdf pieces out of the tissue paper and the pattern.pdf pieces out of bristol. Make sure you cut the correct number of pieces for your lamp. (If you specified 6 sides, cut six wooden ribs, 6 shades and 6 pattern pieces, and one top and one bottom base.)
Step 2: Glue your shades
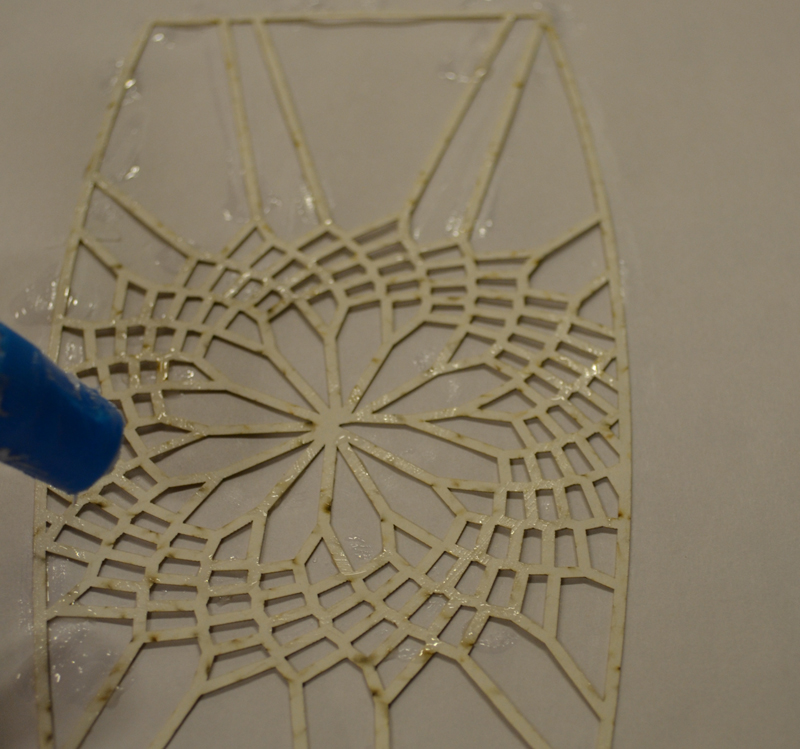
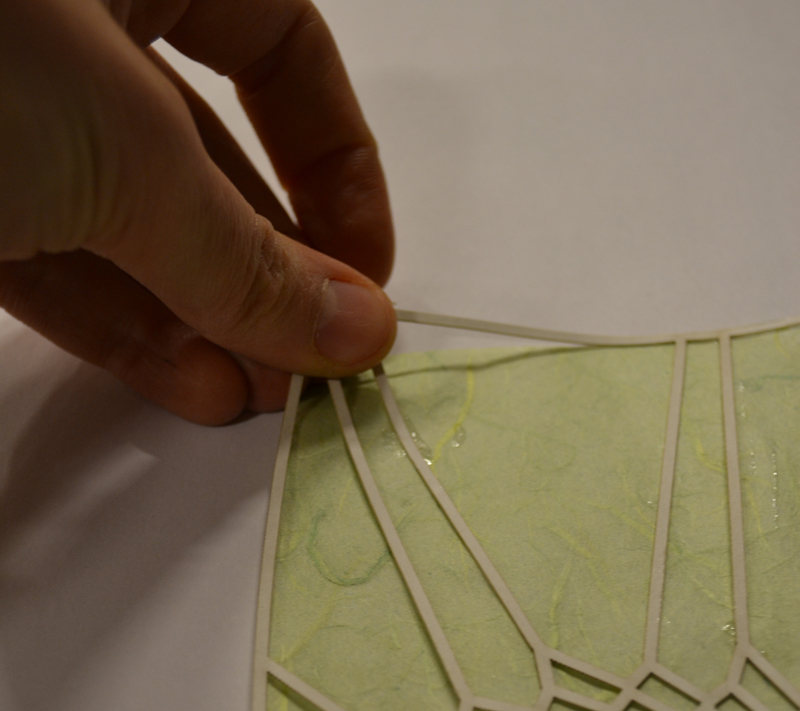
Once the cutting process is complete, you will need to first assemble the shade pieces. Lightly apply glue to the back of one of the bristol pattern pieces. (The back is the side that was facing down on the laser cutter bed when cut, and generally contains some scorch marks on it.)
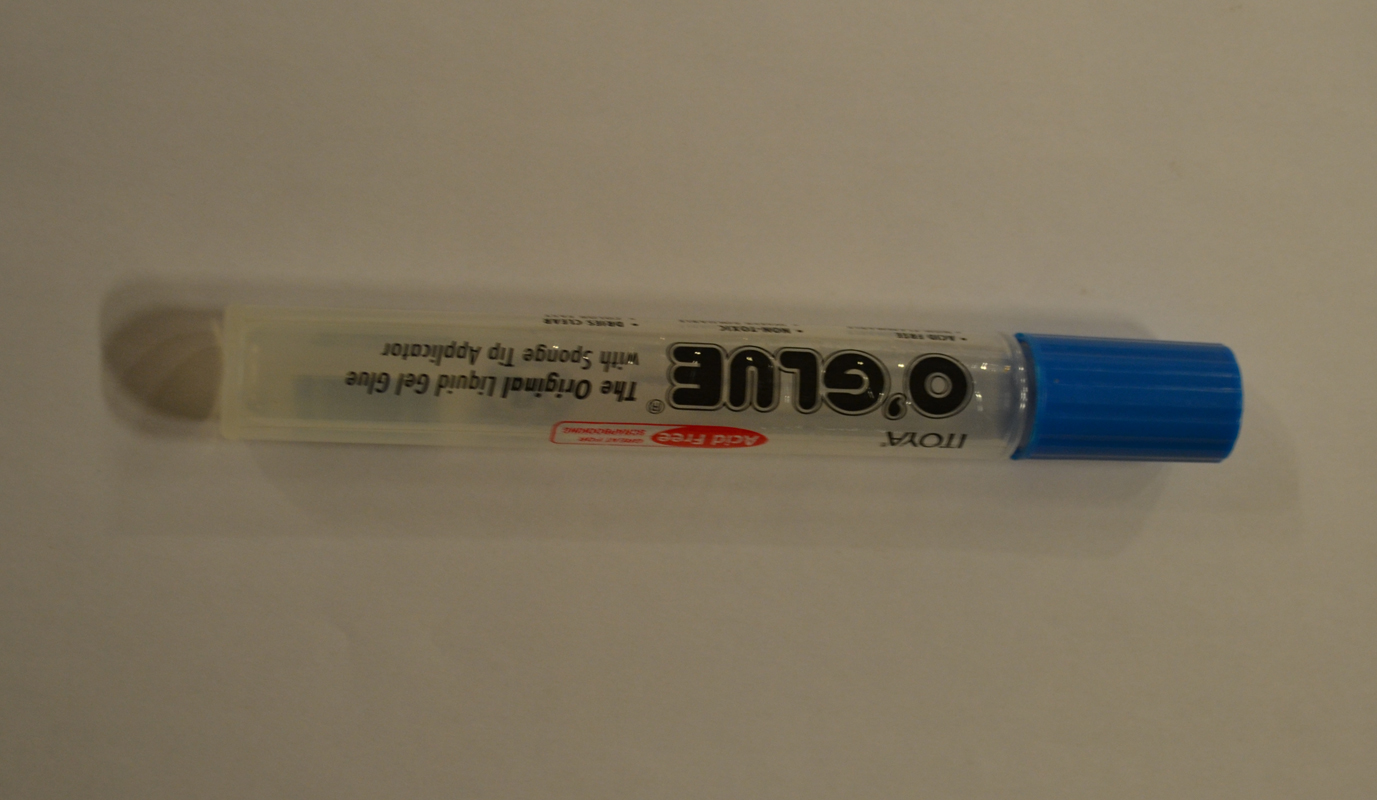
We recommend using clear liquid glue like itoya o’glue to glue the paper pieces together, but you can experiment with other options.
Line the bristol piece up with a piece of the cut tissue paper or vellum and glue the two together. Do the same for all of the remaining pattern pieces. Note: If you want a subtler effect, you can also glue the bristol on the inside of the shade, so that it will only be visible when the lamp is on. To do this, apply glue to the front of the bristol (the side without the scorch marks), and glue it to the shade.
Step 3: Assemble your frame
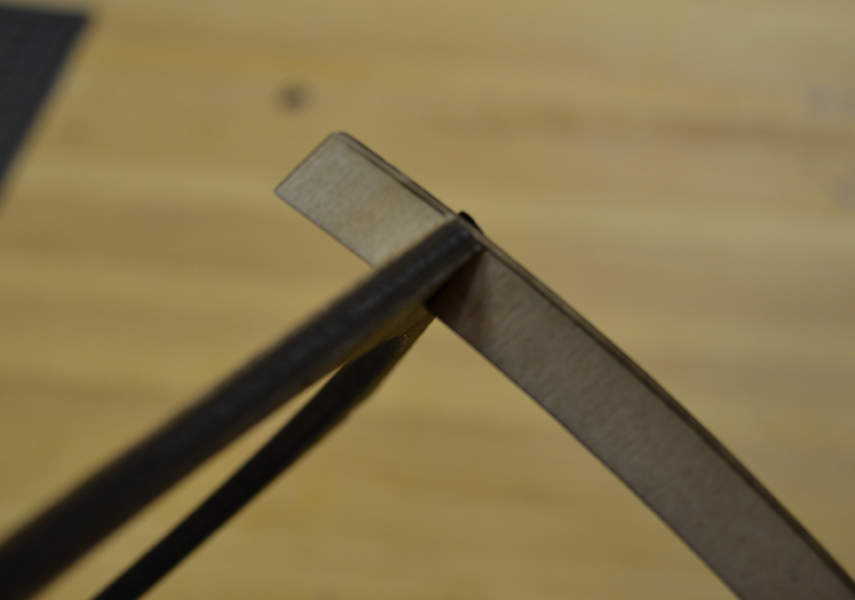
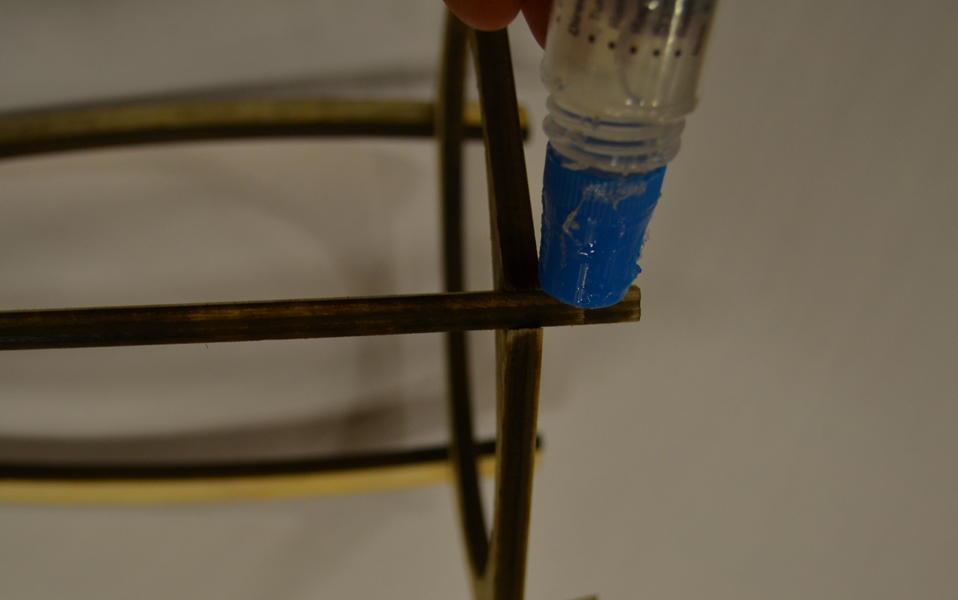
While your shade pieces are drying, snap the frame together. If your measurements on the notches are correct, the frame should hold together by itself, however if it’s a little loose, you can glue it together with Elmer’s glue or hot glue.
Step 4: Attach the shades to the frame
You will need to glue the shades to the frame, one at a time using either hot glue or o’glue. Start with one rib of the frame and apply a dab of glue to both the top and bottom sections of the rib.
Take your first shade and line up the right top and bottom corners to the rib where the glue is. For the first shade, we will wait till the end to glue down the left side. Wait till the glue is dry and move on to the next shade.
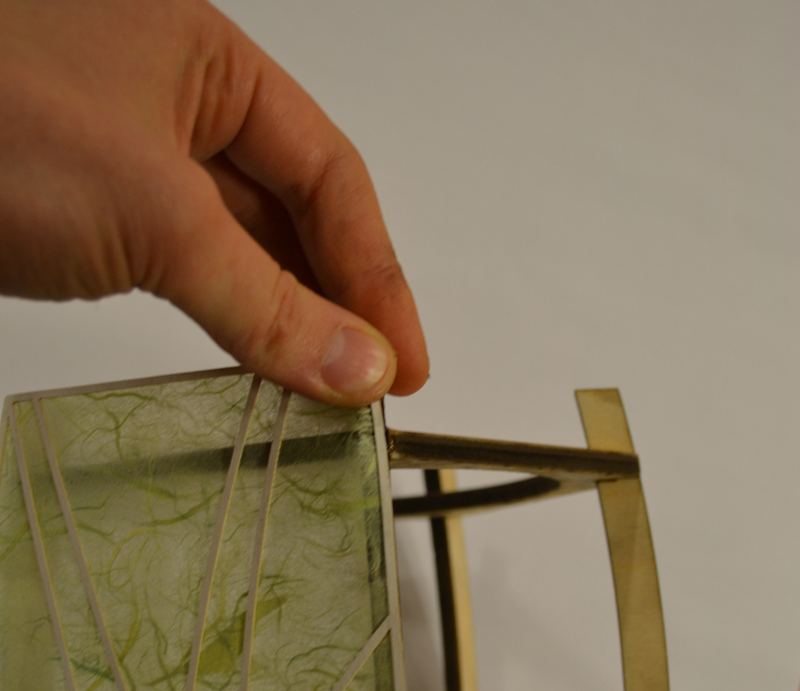
This time, apply glue to the top and bottom sections of the rib that you just glued the first shade to, and also to the top and bottom of the next rib to the right. Line up the corners of the next shade and glue it so that it slightly overlaps the first.
Wait till the glue has dried and repeat the procedure for all of the remaining shades, rotating around the frame in a clockwise direction as you go. When you get to the last shade, glue it down to the remaining rib and then glue the left hand side of the first shade on top of it.
Step 5: Connect the light fixture
Fit your light fixture through the appropriate hole in the top or bottom of your lamp and fasten it in.
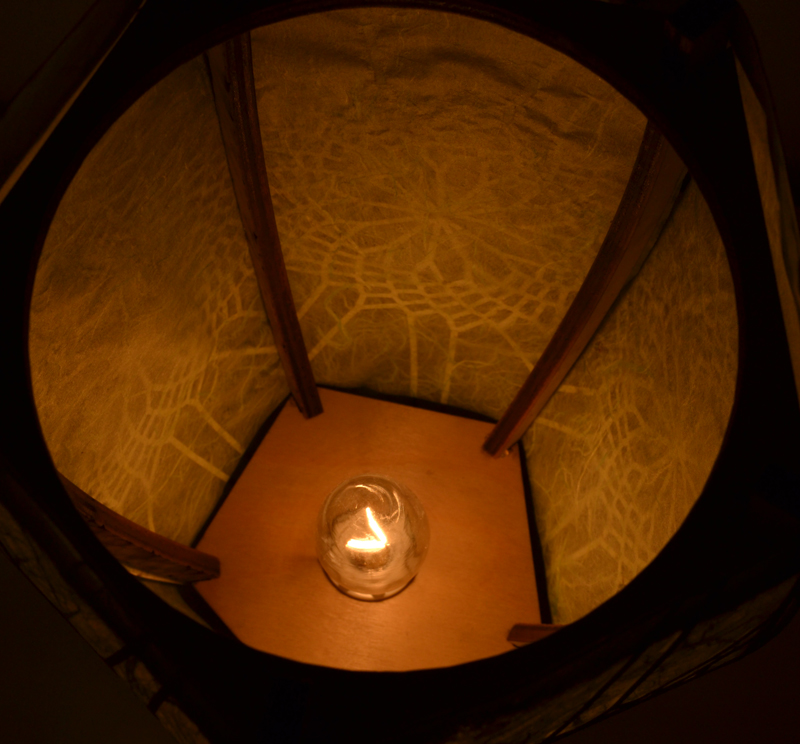
Add screw in the light bulb, plug in the lamp, step back and admire your handiwork!

