
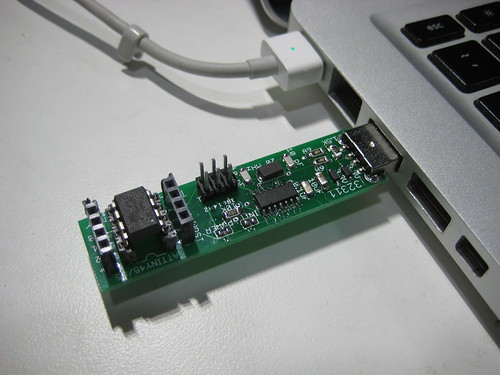
This tutorial explains how to use the TinyProgrammer, a small circuit board for loading code on the ATtiny45 and 85 microcontrollers (or other AVRs).
Driver Installation (Windows-only)
The TinyProgrammer is compatible with the USBtinyISP and uses the same drivers. For Mac OS X and Linux, you shouldn’t need any drivers. For Windows, download and unzip:
Windows (32-bit) drivers: usbtinyisp w32 driver v1.12.zip
Windows (64-bit) drivers: usbtinyisp_libusb-win32_1.2.1.0.zip
Then, plug in the programmer. Somewhere during the driver installation process, you should be able to point Windows to the directory containing the drivers you downloaded.
Programming
To program an ATtiny45 or ATtiny85 microcontroller using the Arduino 1.0 software, see this tutorial. Select “USBtinyISP” from the Tools > Programmers menu.
For the older, Arduino 0022, see this tutorial.
Connecting Components
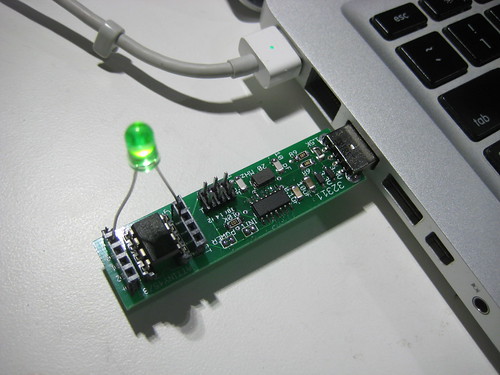
You can connect components to the microcontroller by plugging them into the adjacent headers. For example, the photo above shows an LED connected to pin 0 (and ground). Note that you might have to disconnect the components before you can upload a new program to the microcontroller. Otherwise, you might get the following error:
avrdude: initialization failed, rc=-1
         Double check connections and try again, or use -F to override
         this check.
Using the TinyProgrammer as an ISP
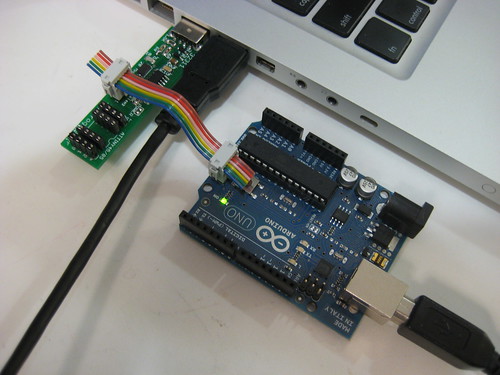
You can also use the TinyProgrammer to program other AVR microcontrollers using the standard 6-pin in-system programming (ISP) header. For example, the above photo shows the TinyProgrammer being used to reflash the bootloader on an Arduino Uno. You’ll need a 6-wire ribbon cable with two 2×3-pin IDC connectors (one on either side). Again, use “USBtinyISP” for the programmer type.
The solder jumper labeled “power” controls whether or not the TinyProgrammer provides power to the target (the AVR being programmed). If the two sides of the jumper are soldered together, the power pin on the ISP header will provide 5V to the target. In this case, you’ll want to make sure that the target circuit can take 5V. If the jumper isn’t soldered together, you’ll need to power the target separately. (Note that the socket for the ATtiny45 / 85 receives power from the TinyProgrammer regardless of whether the power jumper is soldered together or not.)
Getting a TinyProgrammer
You can buy a Tiny AVR Programmer from SparkFun. If you want to make your own, you can download the plans (on Thingiverse).