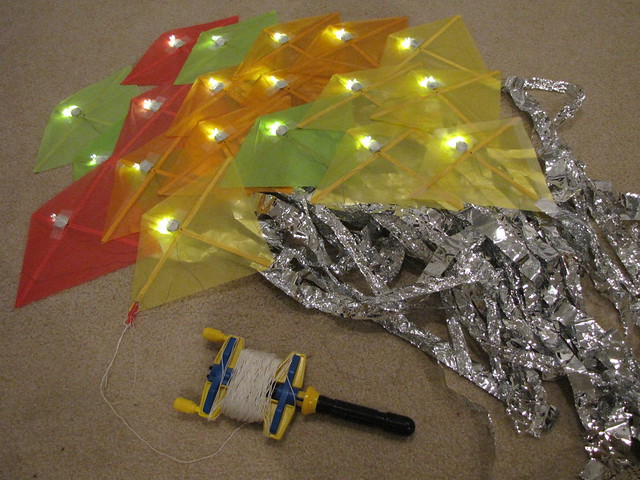
Make a dragon kite that lights up, flies and dances in the sky at night.
Materials and Tools
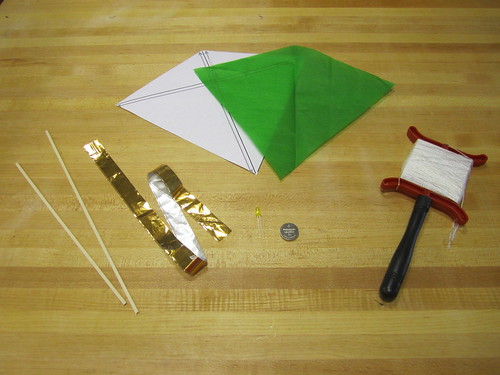
Materials:
– 1 package of tissue paper
– 1 kite stencil (download here)
– 1 spool of kite string
– 1 package plastic foil gift wrap – any thin mylar foil works
– 20 x thin basswood strips (1/16” x 1/18” x24”) or 1 strip per kite
– 10 x 3V coin cell batteries or 1 battery for every other kite
– 10 x through hole LEDs, for example these white LEDs
– wood glue
– scotch tape
Tools:
– scissors
– needle
Instructions
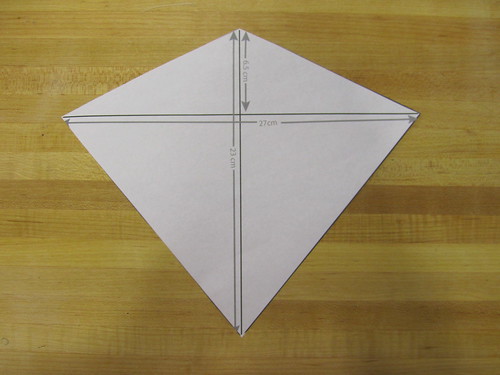
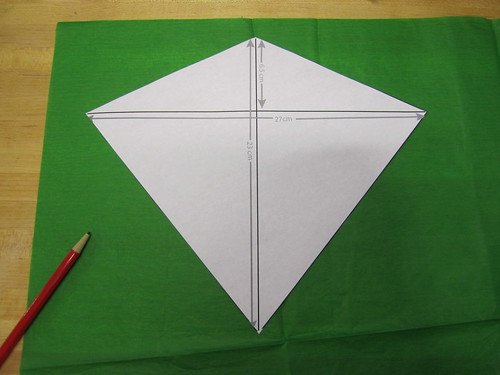
Step 1: Print and cut out the kite stencil
Step 2: Trace the stencil onto the tissue paper and cut out the shape
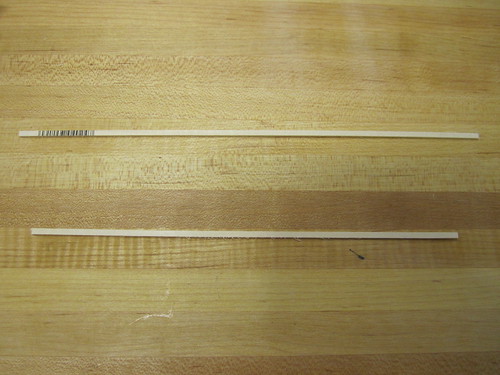
Step 3: Cut one basswood strip into lengths 23cm (9 in) and 27cm (10.5 in).
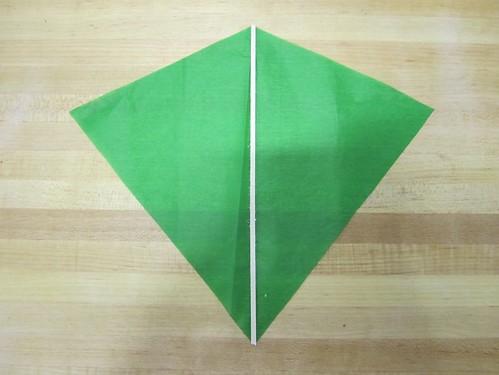
Step 4: Glue the shorter 23cm (9 in) strip to the vertical center of the kite cutout. Tip: add a few drops of wood glue to the strip, spread it out along the entire strip with a brush or your finger and then press firmly onto the kite cutout.
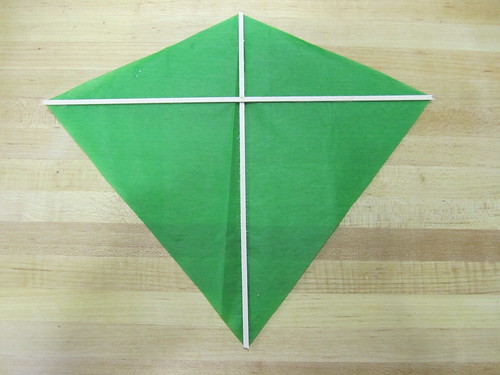
Step 5: Glue the longer 27cm (10.5 in) length strip horizontally to the kite cutout, matching the corners of the cutout.
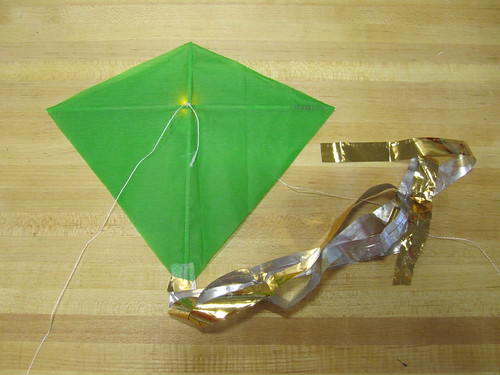
Step 6: Cut 3 strips 61cm (24 in) by 2.5cm (1 in) strips out of the plastic foil to make the tails and tape them onto the bottom of the kite
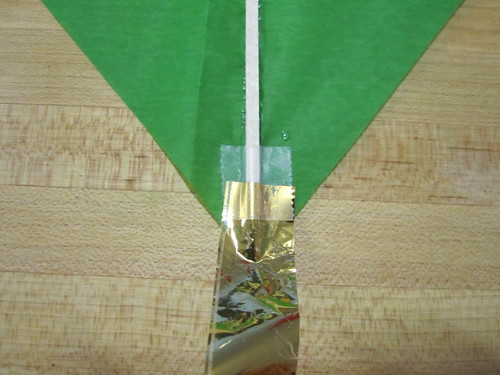
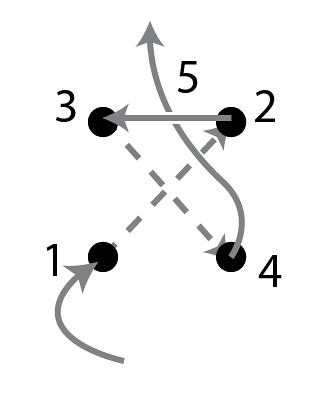
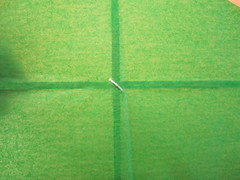
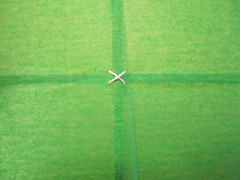
Step 7: Cut 90 cm (1 yard) of kite string and thread through large needle. Then attach one end of the string to the kite. Sew through the kite, around the basswood strips, and tie the two ends of the kite string together, as shown in the diagram and photos below. You will want about 1 in of kite string left over on the shorter end.
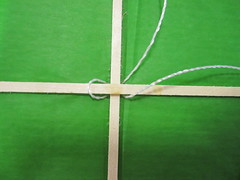
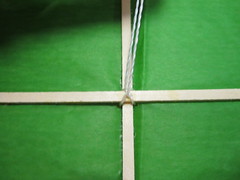
Step 8: Repeat Steps 1 through 7 until you have made a total of 20 kites.
Step 9: To attach the kites to each other, sew the long end of the kite string through the cross on the front of the kite (the side without the wood strips).


Now the kites are ready to fly!
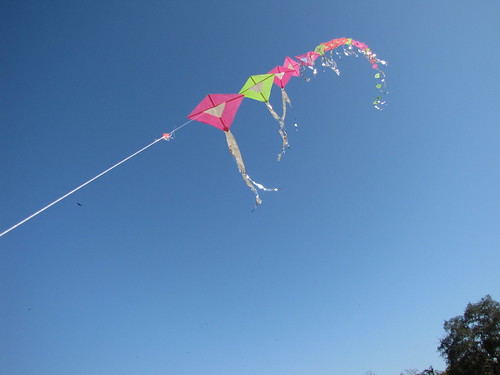
It is helpful to test out the kites without the additional weight of lights. Fly the kites so that the face with wooden strips faces away from you. When flying on a windy day, let out one kite at a time, starting with the kite furthest from you. If there is less wind, have a friend help you hold the entire chain up off the ground and run to get the kites airborne. It’s really important that you make the kite as symmetrical as possible, to prevent spinning. If it does spin, it helps to make the tail longer, or add more tails add a longer tail.
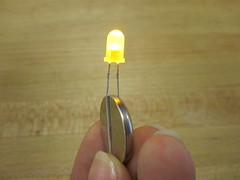
Step 10: Turn on the LED light by clipping the LED to the battery. Make the long leg touch the “+” side of the battery and the short leg touch the “-“ (or unlabeled) side of the battery. If the LED doesn’t turn on, the direction is probably reversed so simply flip the LED around and it should light up. Tape the LED to the battery once it turns on.

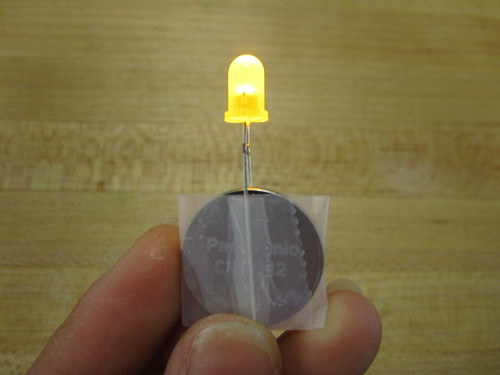
Step 11: Tape the LED+battery to the back of the kite (the side with wooden strips). Place it as close as possible to the intersection of the wood strips, without blocking the string.
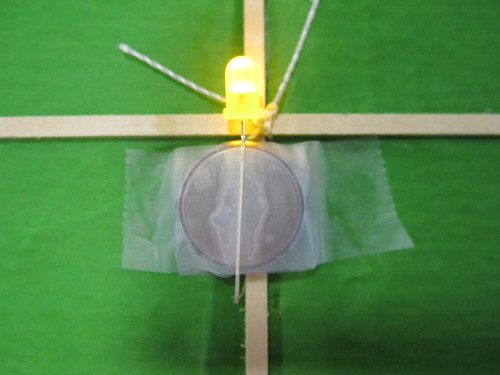
Step 12: The kite is ready for nighttime flying!
